
There’s something undeniably comforting about the combination of crispy and gooey textures in a single bite.
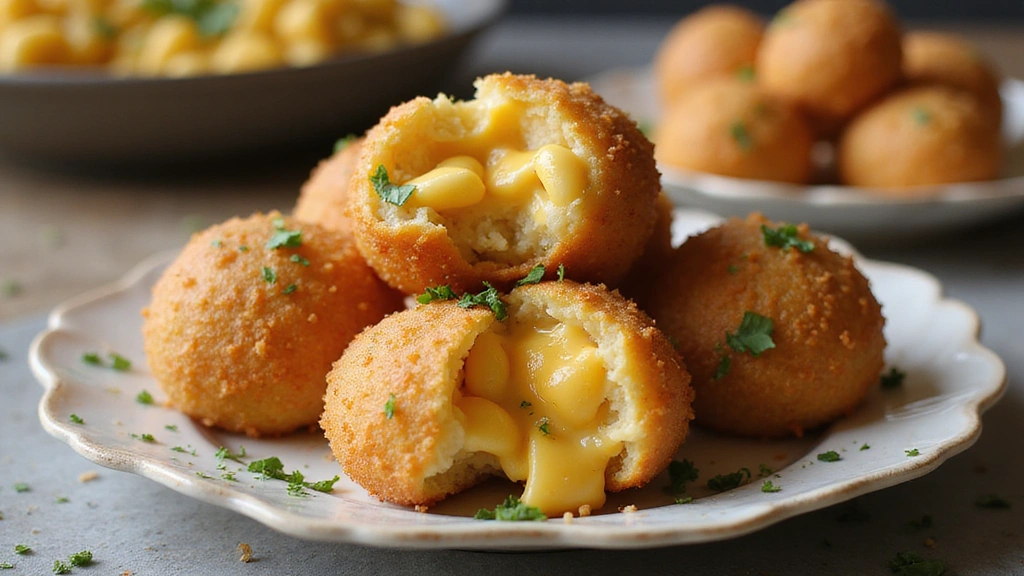
Mac and Cheese Balls offer the perfect balance of a crunchy outer shell and a rich, creamy center.
My first encounter with these delightful snacks was at a local food festival, where they were an instant crowd favorite.
These mouthwatering morsels are perfect for any occasion, from casual gatherings to elegant appetizers.
The savory flavor of cheese combined with the satisfying crunch makes them irresistible.
Try them once, and you’ll find yourself coming back for more.
The History and Cultural Significance
• Mac and Cheese traces its origins to Southern Italy in the 13th century, where it was originally created by layering pasta with cheese.
• The dish evolved over decades as it spread to America, eventually becoming the beloved version we know today with the addition of creamy cheese sauce.
• In American culture, this dish traditionally appears at family gatherings and holiday celebrations, symbolizing comfort and togetherness.
• While many variations exist across different regions, the authentic version maintains a golden crispy crust that sets it apart from imitations.
Recipe Overview
Nutritional Information (per serving)
Essential Equipment Guide
Deep Fryer or Heavy Pot: Crucial for achieving the perfect crispy texture. Alternatives like an air fryer can work, but may not deliver the same traditional results. Look for a fryer with an accurate temperature gauge.
Slotted Spoon: Important for safely removing the balls from hot oil while allowing excess oil to drain. A spider strainer is a good alternative, offering similar functionality.
Mixing Bowls: Necessary for combining ingredients evenly. Ensure they are large enough to accommodate all ingredients without spilling.
Ingredients
For the Mac and Cheese
|
|
| Amount | Ingredient | Notes |
|---|---|---|
| 2 cups | elbow macaroni | cooked and drained |
| 2 cups | cheddar cheese | shredded, adds richness |
| 1 cup | milk | for creaminess |
| 2 tablespoons | butter | adds richness |
| 1 tablespoon | flour | thickens the sauce |
For the Coating
| Amount | Ingredient | Notes |
|---|---|---|
| 1 cup | all-purpose flour | for dredging |
| 2 large | eggs | beaten, for binding |
| 2 cups | panko breadcrumbs | for extra crunch |
Seasonings
| Amount | Ingredient | Notes |
|---|---|---|
| 1 teaspoon | salt | enhances flavor |
| 1 teaspoon | black pepper | adds spice |
| 1 teaspoon | paprika | adds color and flavor |
Preparation Methods
Making a Roux: A foundational technique for creating a smooth cheese sauce. It involves cooking flour and butter together until bubbly, which prevents lumps in the sauce. Stir constantly to avoid browning.
Forming Balls: Essential for ensuring even cooking. Use slightly damp hands to form the mac and cheese mixture into balls, pressing firmly to maintain shape. Chill before frying to help them hold together.
Breading Technique: Offers a crispy exterior. Dredge each ball in flour, then egg, and finally breadcrumbs. Ensure an even coating by gently pressing the breadcrumbs onto the surface.
Step 1: Prepare Macaroni
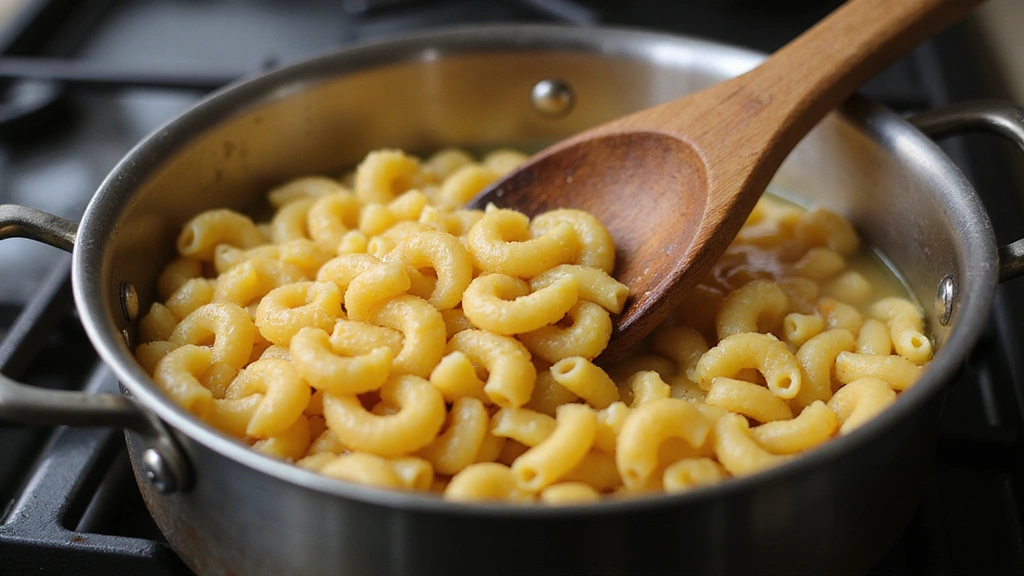
Boil water in a large pot.
Add macaroni and cook according to package instructions.
Drain and set aside, ensuring it doesn’t overcook.
Toss with a little oil to prevent sticking.
Step 2: Make Cheese Sauce
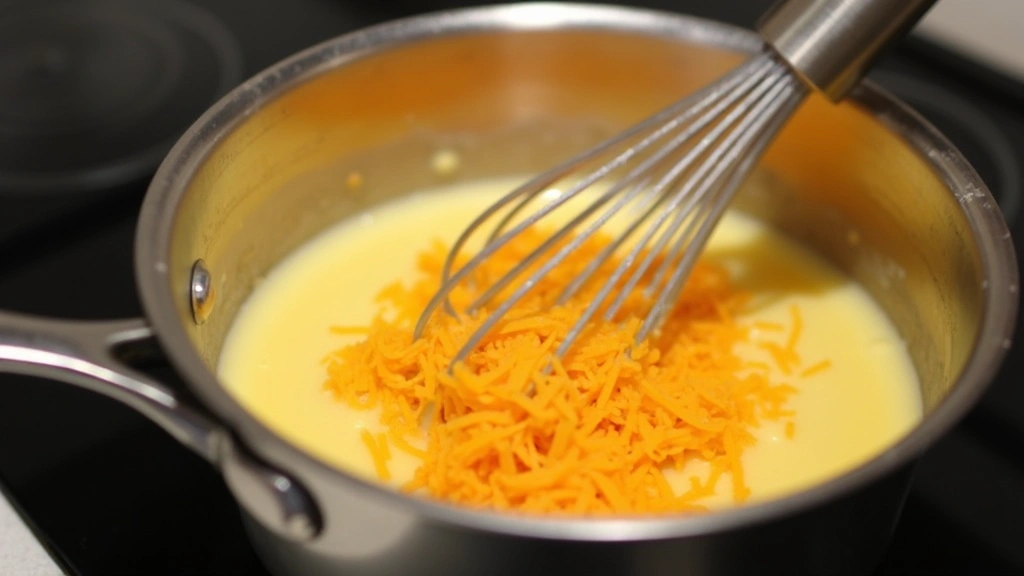
Melt butter in a saucepan over medium heat.
Stir in flour to create a roux, cooking until bubbly.
Gradually add milk, whisking constantly to avoid lumps.
Add cheddar cheese, stirring until fully melted and smooth.
Step 3: Combine Mac and Cheese
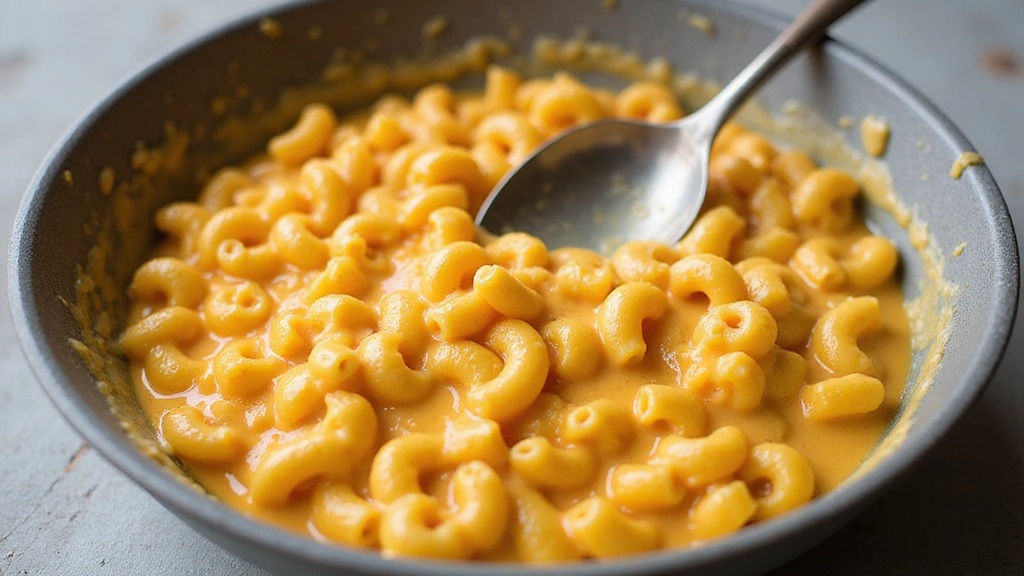
In a large bowl, combine cooked macaroni and cheese sauce.
Mix thoroughly to ensure even coating.
Season with salt, pepper, and paprika.
Let it cool enough to handle comfortably.
Step 4: Form Balls
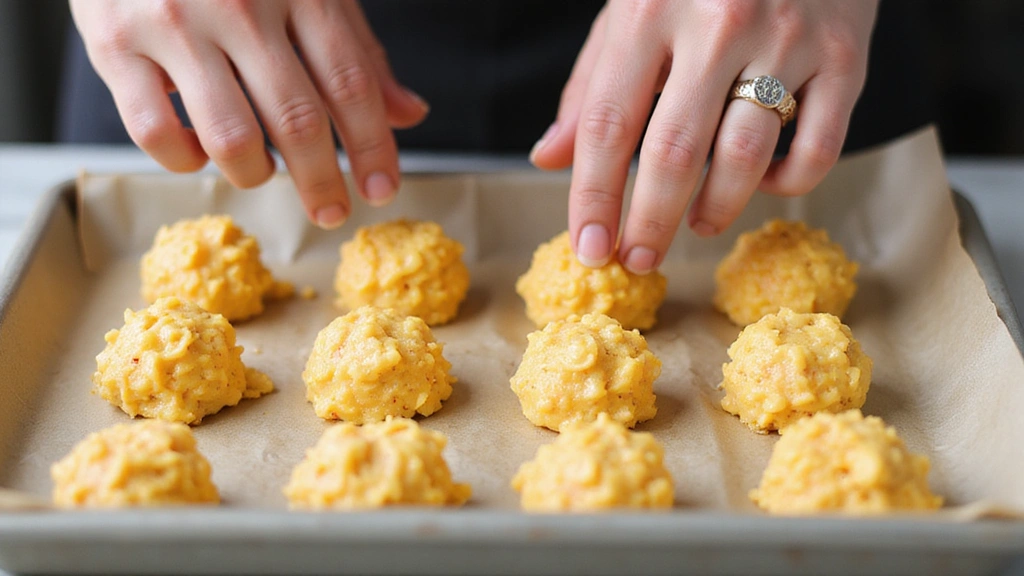
Scoop a small amount of the mac and cheese mixture.
Roll into a ball using your hands.
Place formed balls on a baking sheet lined with parchment paper.
Repeat until all mixture is used.
Step 5: Chill the Balls
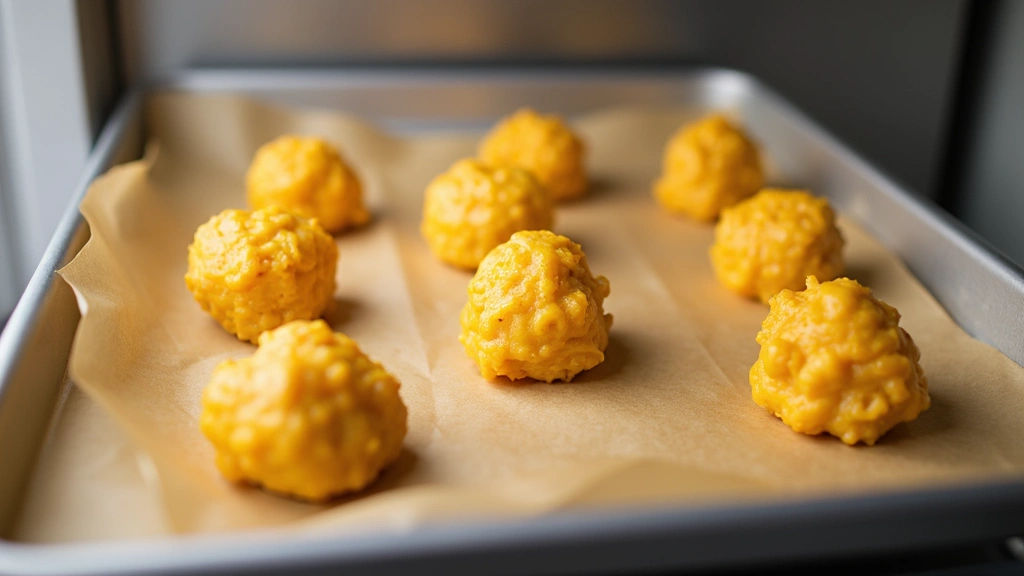
Refrigerate the formed balls for at least 30 minutes.
This helps them firm up for better frying.
Ensure they are not touching to prevent sticking.
Cover with plastic wrap if chilling for longer periods.
Step 6: Prepare Coating Station
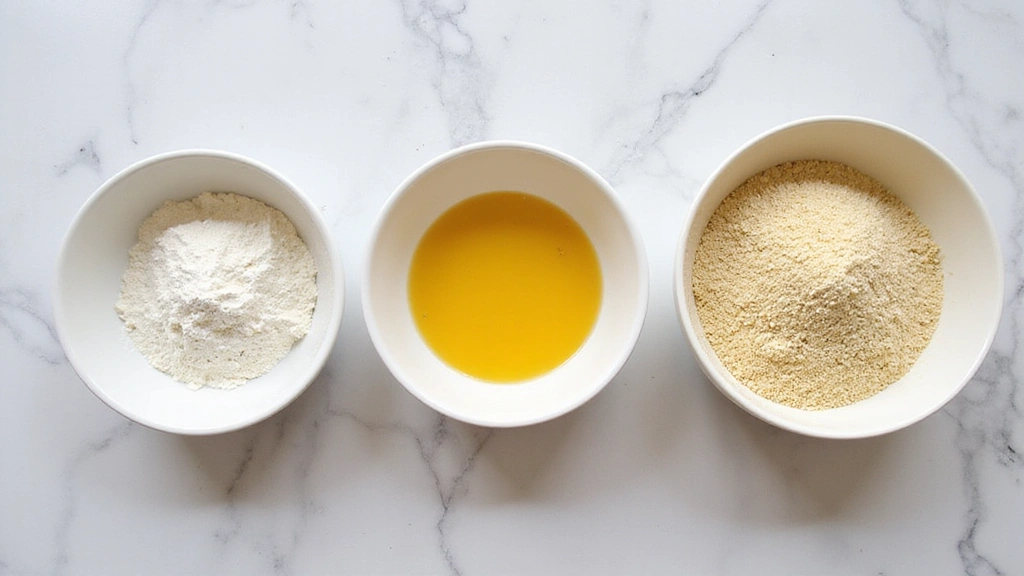
Set up three shallow bowls for coating.
Place flour in the first bowl.
Beat eggs in the second bowl.
Fill the third bowl with panko breadcrumbs.
Step 7: Coat the Balls
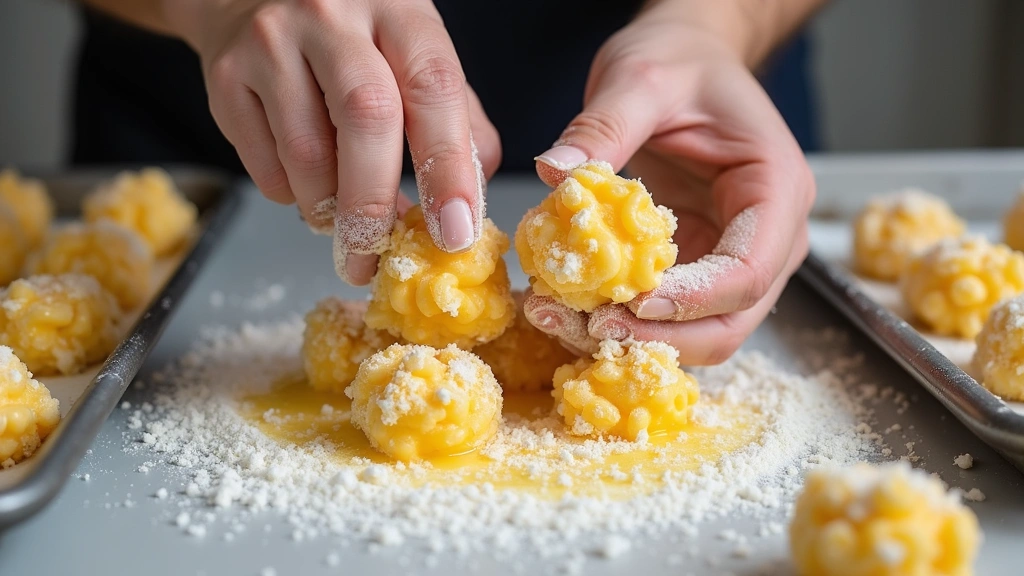
Dredge each ball in flour, shaking off excess.
Dip into beaten eggs, ensuring full coverage.
Roll in breadcrumbs, pressing gently to adhere.
Place coated balls back on the baking sheet.
Step 8: Fry the Balls
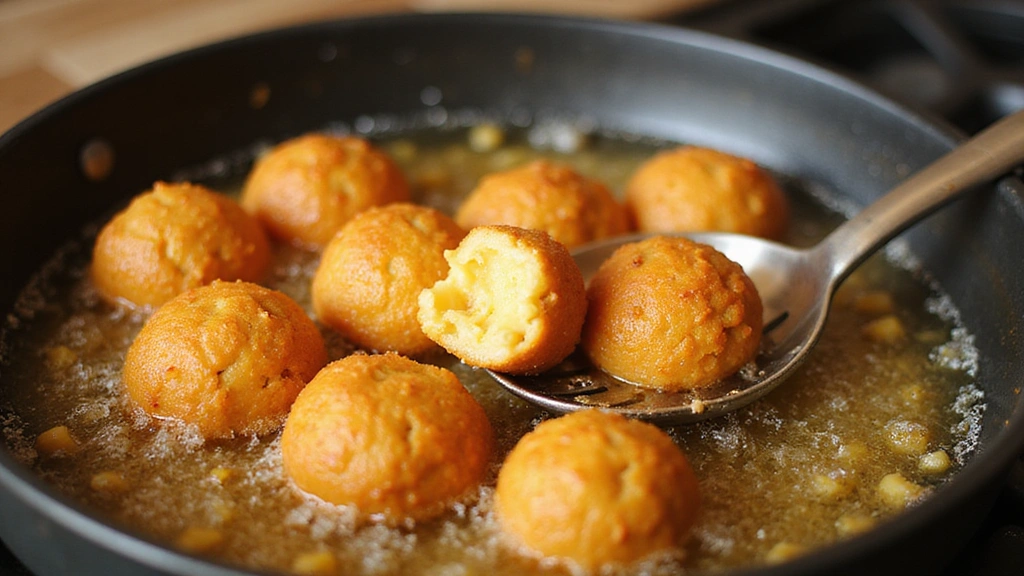
Heat oil in a deep fryer or heavy pot to 350°F (175°C).
Carefully add balls in batches to avoid overcrowding.
Fry until golden brown and crispy, about 3-4 minutes.
Use a slotted spoon to remove and drain on paper towels.
Step 9: Serve and Enjoy
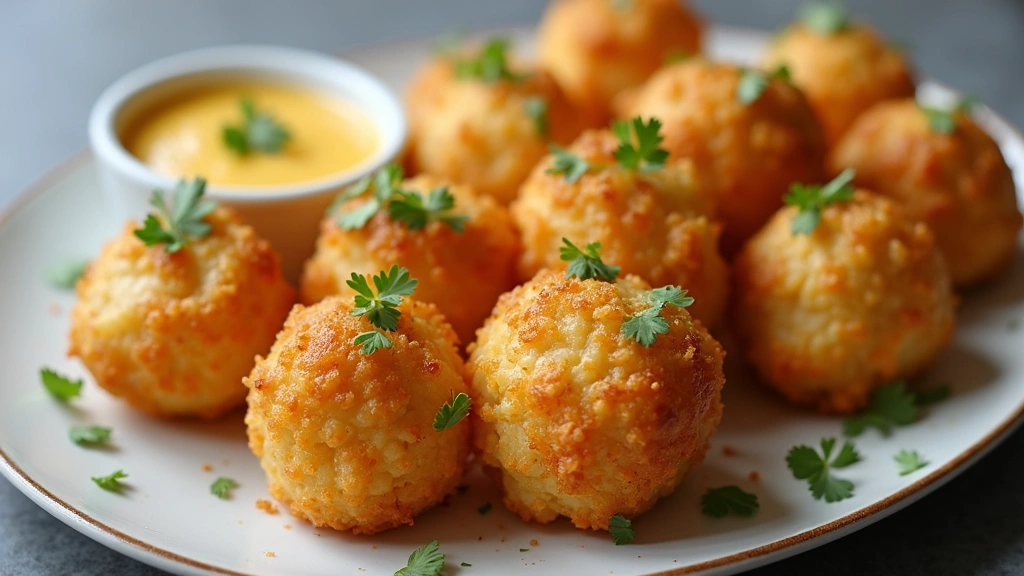
Transfer fried balls to a serving platter.
Garnish with fresh parsley for a pop of color.
Serve with your favorite dipping sauce.
Enjoy the crispy, gooey delight!
Critical Timing and Temperature Guide
Frying: Heat oil to a precise 350°F (175°C). Fry for 3-4 minutes until golden brown. Avoid overcrowding the fryer, which reduces temperature.
Chilling: Chill the formed balls for at least 30 minutes. This ensures they hold their shape during frying. Skipping this step may result in balls falling apart.
Cooking Macaroni: Cook macaroni until al dente. Overcooked pasta can become mushy, affecting the texture of the final dish.
Pro Tips for Mac and Cheese
• Ingredient Selection: Use high-quality cheddar cheese for the best flavor and melting properties. Aged cheddar provides a more complex taste.
• Preparation Secret: Cooling the mac and cheese mixture thoroughly before forming balls helps them hold their shape better during frying.
• Temperature Management: Ensure oil is hot enough before frying. Oil that's too cool will result in greasy balls.
• Texture Enhancement: For extra crunch, double coat the balls by repeating the egg and breadcrumb steps.
• Flavor Layering: Add a pinch of cayenne to the cheese sauce for a subtle heat that enhances the overall flavor.
• Make-Ahead Strategies: Form and chill balls a day in advance. Store covered in the fridge to save time on the day of serving.
• Restaurant-Quality Finishing Touches: Sprinkle a little flaky sea salt over the fried balls just before serving for an elevated touch.
• Equipment Optimization: If using a pot for frying, use a thermometer to maintain consistent oil temperature.
Troubleshooting Common Issues
• Texture Too Dense: Overcooked macaroni can cause dense texture. Ensure pasta is al dente to maintain a light center.
• Flavors Unbalanced: Too little seasoning can result in bland balls. Taste the cheese sauce and adjust seasonings before combining.
• Balls Fall Apart in Fryer: Insufficient chilling time can cause balls to disintegrate. Chill for at least 30 minutes before frying.
• Coating Falls Off: Ensure an even, thorough coating of flour, egg, and breadcrumbs. Press breadcrumbs gently to adhere.
• Greasy Exterior: Oil temperature too low can cause greasy balls. Maintain oil at 350°F (175°C) for optimal frying.
Variations and Regional Differences
• Southern Style: Incorporates spicy jalapeños into the mac and cheese for a kick, often served with a side of ranch dressing.
• Italian Variation: Uses mozzarella and parmesan cheeses, with a marinara dipping sauce for a twist on traditional mac and cheese.
• Mexican-Inspired: Adds chorizo and pepper jack cheese, served with a side of salsa for a flavorful fusion.
• Vegan Version: Utilizes nutritional yeast and cashew cheese for the sauce, with a flaxseed egg substitute for coating.
Food Science Behind the Recipe
• Emulsification: The process of combining fat and water in the cheese sauce creates a smooth, creamy texture by suspending fat molecules evenly.
• Maillard Reaction: Responsible for the golden-brown crust during frying, as proteins and sugars react under heat to develop complex flavors.
• Gelatinization: Occurs when cooking the roux, as starch molecules swell and thicken the sauce, providing a stable base for the cheese.
Frequently Asked Questions
What's the most common mistake people make when preparing Mac and Cheese Balls? Overcrowding the fryer, which drops the oil temperature and results in greasy, unevenly cooked balls.
Can I bake instead of fry Mac and Cheese Balls? Yes, but they won't be as crispy. Bake at 400°F (200°C) for 15-20 minutes, turning halfway through.
How can I prevent the balls from falling apart during frying? Ensure the mixture is chilled thoroughly and ball are well-coated before frying.
What's the best cheese to use for this recipe? Aged cheddar provides the best flavor and melting properties, but you can mix in other cheeses for variety.
Can I make these gluten-free? Yes, use gluten-free flour and breadcrumbs for the coating, and ensure all other ingredients are gluten-free certified.
How do I store leftovers? Place in an airtight container in the refrigerator for up to 3 days. Reheat in the oven to maintain crispiness.
What's a good dipping sauce for Mac and Cheese Balls? Ranch dressing, spicy ketchup, or a simple marinara sauce complement the flavors well.
Can I freeze the Mac and Cheese Balls? Yes, freeze them after forming but before frying. Thaw in the refrigerator before proceeding with frying.
Serving and Presentation Guide
• Traditional Presentation: Serve on a rustic wooden board, garnished with fresh herbs such as parsley, alongside a small bowl of dipping sauce.
• Modern Platter: Arrange balls in a circular pattern on a white plate, with a trio of sauces in the center for a colorful, inviting display.
• Individual Appetizers: Serve each ball in a small ramekin with a sauce drizzle for a sophisticated touch.
• Buffet Style: Present on a large platter with toothpicks inserted into each ball, making them easy for guests to pick up and enjoy.
Conclusion
Now that you have the secrets to perfect Mac and Cheese Balls, it's time to try them yourself.
These crispy, gooey delights are sure to impress family and friends at any gathering.
Remember, practice makes perfect, so don't hesitate to experiment and make the recipe your own.